PyTorch 使用指南
更新时间:2023-12-01 07:02:17
完整信息请见 PyTorch文档
单机
cd /home/ubuntu/test/pytorch
python mnist.py
PyTorch 训练过程

PyTorch 训练结果

单任务使用双 GPU
非容器版
wget https://github.com/shanheAppcenter/DeepLearning/raw/master/examples/pytorch_multi_gpu_test.py
python pytorch_multi_gpu_test.py
容器版
cd /root/test/pytorch && python pytorch_multi_gpu_test.py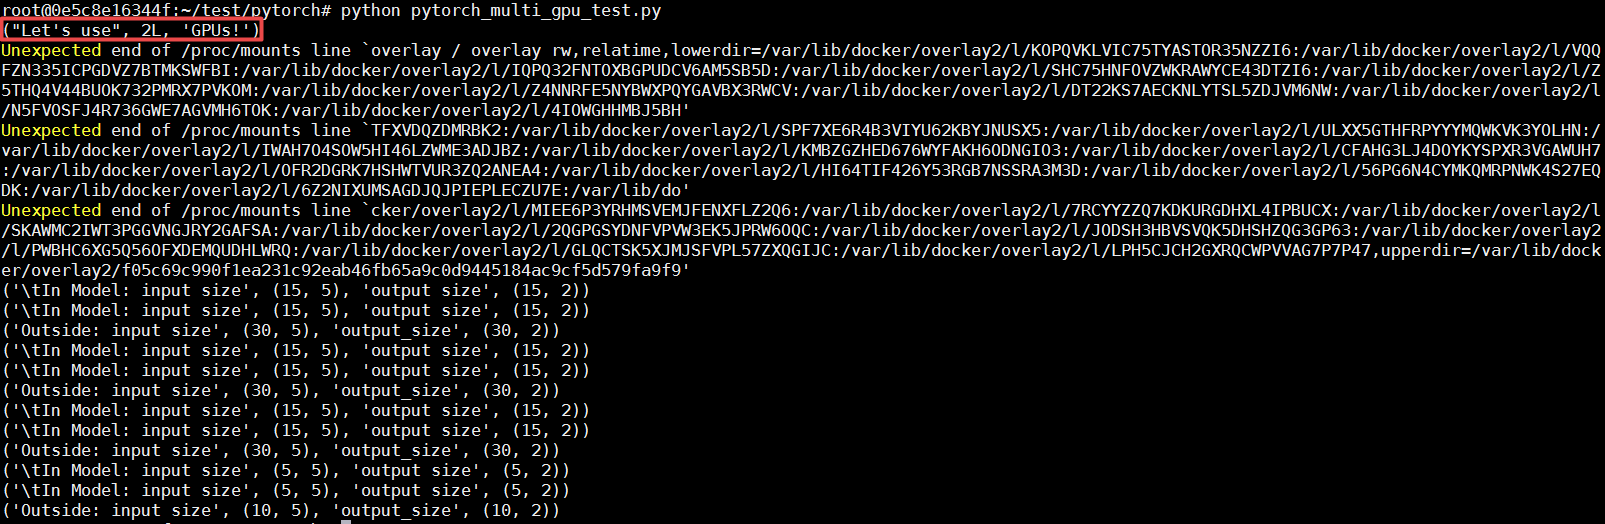
说明
若出现类似错误:Unexpected end of /proc/mounts line *,是 NVIDIA 驱动的问题,对运行结果无影响。
分布式
说明
PyTorch 分布式训练时,由于当前版本的 PyTorch 尚未支持 CPU 分布式训练,请选择 GPU 版本进行分布式训练。
节点 1
cd /home/ubuntu/test/pytorch
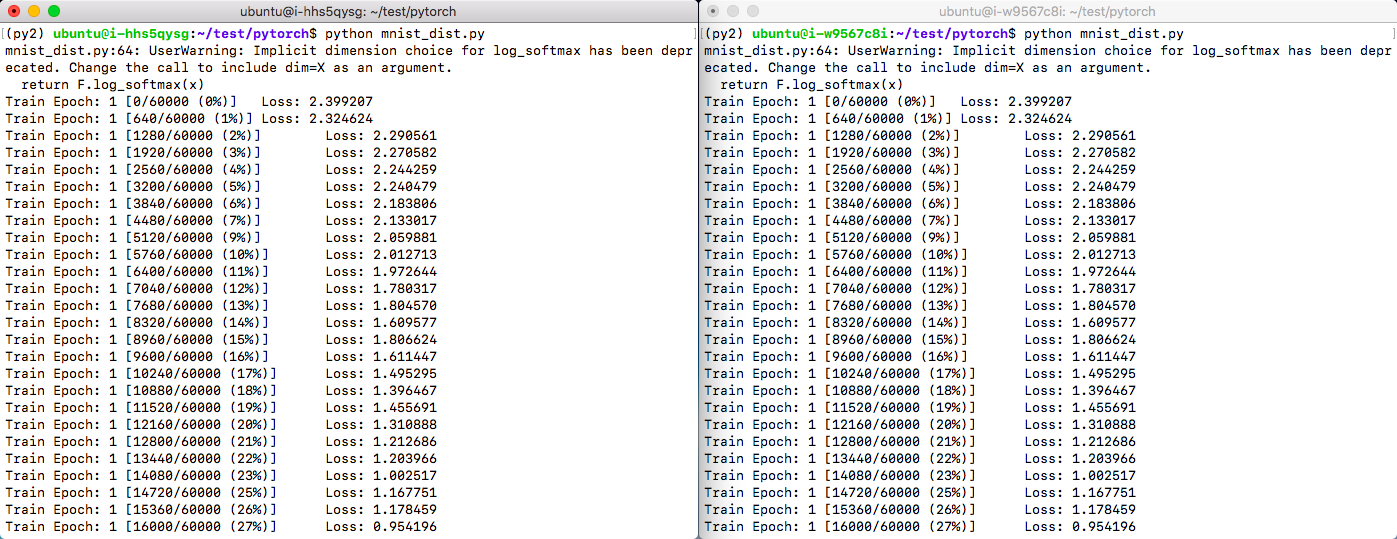
python mnist_dist.py节点 2
cd /home/ubuntu/test/pytorch
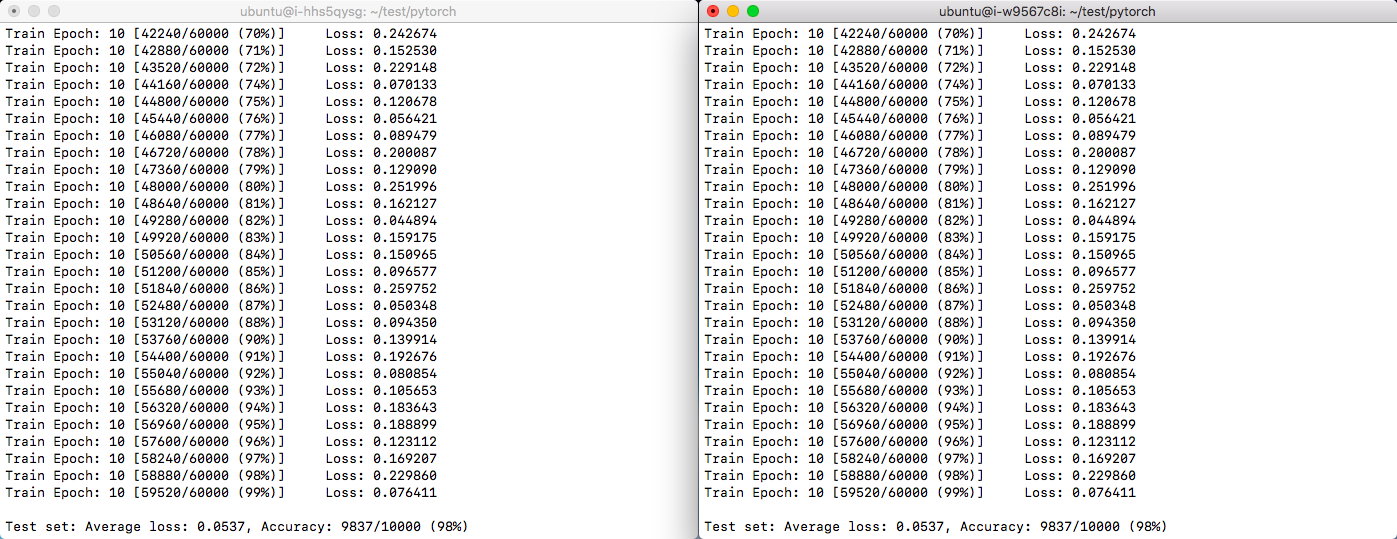
python mnist_dist.pyPyTorch 分布式训练过程
PyTorch 分布式训练结果
跨区分布式:山河深度学习平台支持跨区分布式 PyTorch 训练,首先使用 IPSec 或 GRE 方式,连通两个集群的路由器。如果是异地路由器,则要求两个路由器都有公网 IP 地址,并为公网 IP 分配足够的带宽,依据实际训练数据交互的带宽需求,调整带宽到合适的值。两个路由器连通之后,集群中的深度学习节点将会在不同的网段,例如 192.168.1.2 和 192.168.2.2,但是相互之间的连通性和在一个局域网没有差别。
进行 Pytorch 分布式训练时,需要在分布式参数中指定 init_method 为 env 方式,以一台主机和一台从机为例,在两区节点都下载好分布式训练文件之后,启动命令如下:
主机 (IP: 192.168.1.2)
wget https://github.com/shanheAppcenter/DeepLearning/raw/master/examples/pytorch_multi_gpu_test.py
python pytorch_mnist_dist.py --master-addr 192.168.1.2 --rank 0
从机 (IP:192.168.2.2)
wget https://github.com/shanheAppcenter/DeepLearning/raw/master/examples/pytorch_multi_gpu_test.py
python pytorch_mnist_dist.py --master-addr 192.168.1.2 --rank 1
实际使用中,依据实际情况调整 world_size , master_addr 和 master_port 等参数。